

The construction industry struggles with delays and outdated tech – only 8.5% of major projects finish on time and within budget. To fix this, creating a Minimum Viable Product (MVP) tailored to contractors’ needs is key. Here’s a quick breakdown:
- Why MVPs Matter: They solve problems quickly, save costs, and allow for user-driven design.
- Key Steps:
- Research contractor workflows with site visits and interviews.
- Focus on essential features like offline functionality, real-time updates, and simple interfaces.
- Design for job site conditions (dust, gloves, poor connectivity).
- Test prototypes in real-world environments.
- Track usage and refine based on feedback.
Bottom line: Build tools that fit seamlessly into contractors’ workflows, improve efficiency, and are easy to adopt. Focus on solving real problems, not adding extra features.
How to Build a Construction Management Software CRM …
Step 1: Research Contractor Work Patterns
To create technology contractors will actually use, start by understanding how they operate on job sites. This means observing their challenges directly in the field.
Site Visits and Worker Interviews
Visiting job sites and talking to workers helps uncover their daily workflows and pain points. Focus your field research on these three areas:
- Asset Management: Tool loss is a major issue for nearly 50% of contractors [1]. Watch how workers track and manage tools to identify gaps.
- Time Tracking Systems: With two-thirds of construction businesses switching to digital time tracking [1], evaluate how these systems are used and where they fall short.
- Workflow Bottlenecks: Look for delays in projects and communication breakdowns between teams.
"When left unaddressed, tool loss can lead to project delays and inflated labor costs, as valuable time is wasted searching for assets that should be easily accessible to the crew." – AlignOps [1]
Build Contractor User Profiles
Once you’ve gathered data from the field, organize it into detailed user profiles. This will help you design solutions tailored to their needs. For example, 61% of contractors worry about skilled worker shortages affecting their operations [1].
Here’s what to include in these profiles:
| Profile Element | Key Considerations | Impact on MVP Design |
|---|---|---|
| Digital Adoption | Current use of digital tools | Simplicity of the interface |
| Project Size | Typical job scope and duration | Scalability of the solution |
| Team Structure | Number of workers and roles | Levels of user permissions |
| Site Conditions | Indoor/outdoor work environments | Durability of devices |
Dive deeper into how contractors manage projects, communicate, and handle environmental challenges:
- Project Management: Study their scheduling, resource allocation, and quality control processes [2].
- Communication Patterns: Map out how information flows between office staff, field workers, and clients.
- Environmental Factors: Assess the impact of weather and regulations on their operations [2].
Pay close attention to how contractors currently solve problems. If they rely on paper systems, find out why digital alternatives haven’t been embraced. This will guide you in designing an MVP that tackles the real barriers to adopting new technology.
Step 2: Select Core MVP Functions
Focus on identifying and prioritizing the most essential features to address contractors’ everyday challenges.
Focus on the Essentials
When developing a construction tech MVP, stick to solving the main problems without overloading it with unnecessary features. As Eric Ries puts it, "An MVP is a new product iteration that enables the team to amass the most concrete consumer data with the least amount of work" [3].
Here are some key areas to consider:
| Feature Category | Priority Focus | Implementation Goal |
|---|---|---|
| Data Collection | Offline capability | Allow data entry even without an internet connection |
| Site Management | Mobile-first design | Ensure usability with one hand, even while wearing gloves |
| Asset Tracking | Real-time updates | Sync information across devices when a connection is available |
| Time Management | Quick entry | Enable common tasks to be completed in under 30 seconds |
"You can chat with potential users all you want, but you will only genuinely grasp if your product solves their problems once it’s in their hands." – Michael Seibel, CEO and co-founder of Twitch [3]
After identifying potential features, rank them to determine which ones are absolutely essential.
Prioritize Features Strategically
Use the CPSR framework [4] to validate and rank features, focusing on core functionality while leaving extras for later.
Here’s a sample feature priority matrix:
| Priority Level | Feature Requirements | Development Focus |
|---|---|---|
| Must-Have | Solves key problems | Offline functionality, basic data entry |
| Should-Have | Adds significant value | Photo documentation, simple reporting |
| Could-Have | Nice-to-have enhancements | Advanced analytics, custom workflows |
| Won’t-Have | Future possibilities | Complex integrations, AI features |
A telling statistic highlights that "80% of products and features are rarely or never used… because they’re solutions for problems customers don’t care enough about" [4].
To ensure the right features are prioritized:
- Write clear problem statements for each feature.
- Survey contractors within your target audience.
- Monitor how features are actually used.
- Measure the impact of each feature on daily operations.
Step 3: Design for Construction Sites
Build for Tough Conditions
Devices used on construction sites face challenges like bright sunlight, dust, moisture, and extreme temperatures. Here’s how you can design to overcome these obstacles:
| Challenge | Design Solution | Example Implementation |
|---|---|---|
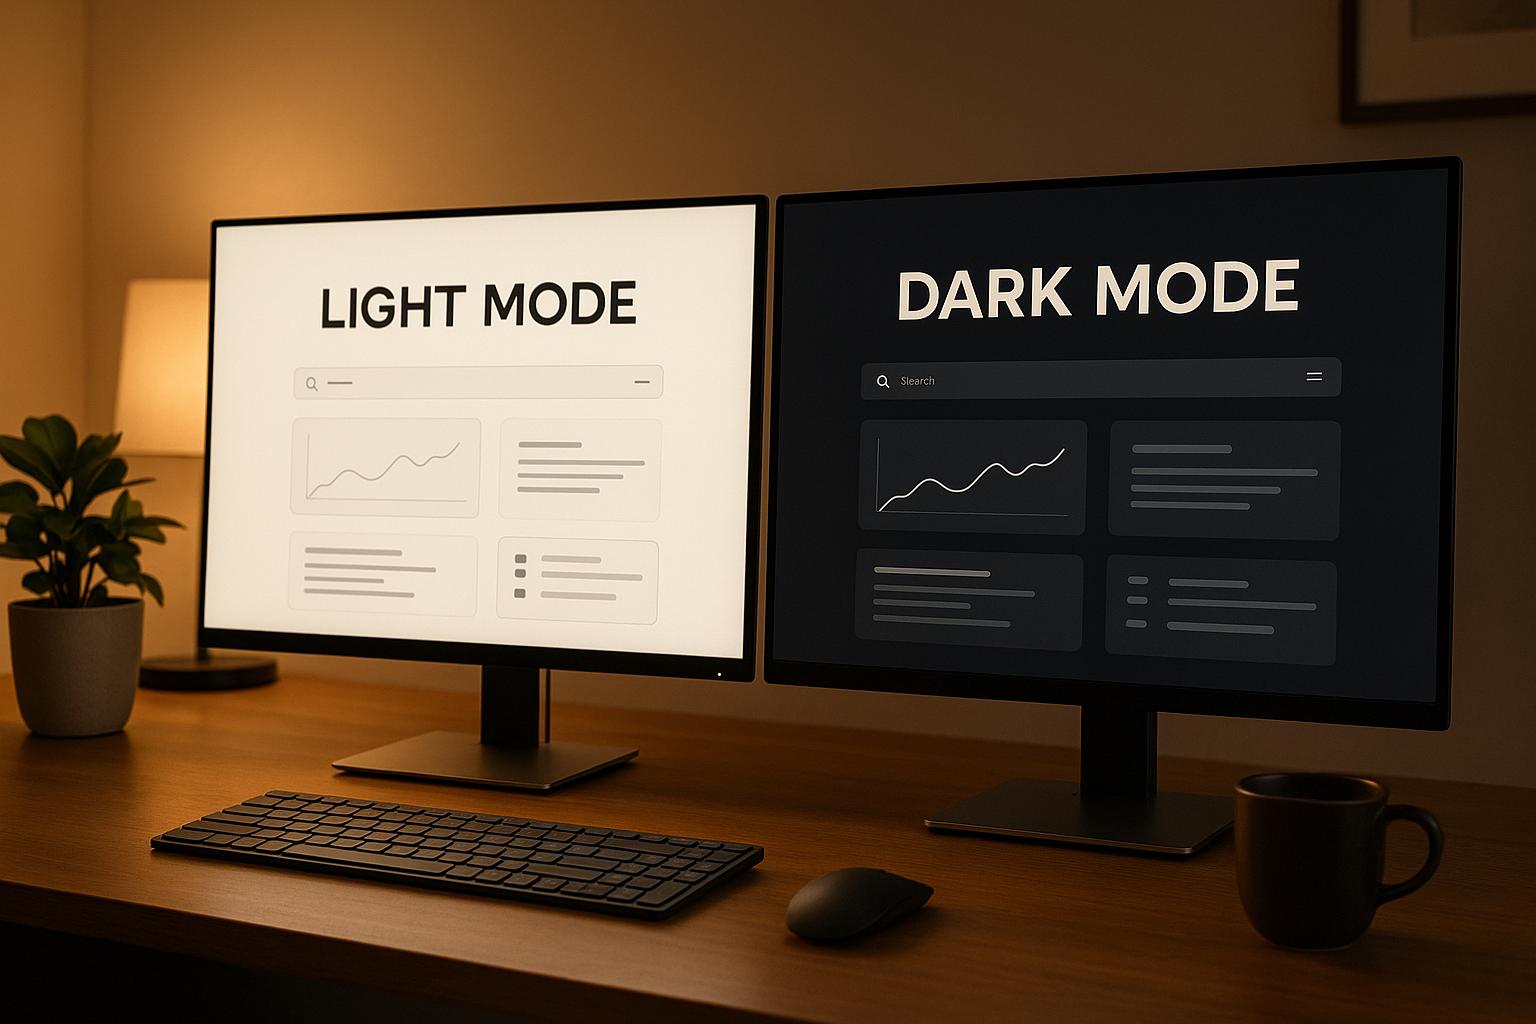
| Bright Sunlight | Use high-contrast UI elements | Add design modes for easy readability outdoors |
| Gloved Operation | Create large, responsive tap targets | Design buttons and controls that work well with gloves |
| Dust and Debris | Simplify the layout | Use a clean, single-column design to reduce visual clutter |
| Unreliable Network Signals | Build offline-first features | Include local storage that syncs when connectivity is available |
Practical tips to improve usability:
- Design large, touch-friendly elements for gloved hands.
- Ensure clear visual feedback for all touch interactions.
- Incorporate swipe gestures for quick access to common features.
- Consider voice input for hands-free operation.
Once these rugged design elements are in place, move on to testing under real-world conditions to refine usability.
Test Early Versions
Before full-scale development, validate your designs with prototypes that simulate actual site conditions. Gradually refine these prototypes into more functional versions:
| Testing Phase | Focus Area | Evaluation Criteria |
|---|---|---|
| Paper Prototypes | Validate workflows | Ensure users can complete key tasks efficiently |
| Interactive Wireframes | Test touch target usability | Achieve low error rates during user interactions |
| Beta Testing | Assess performance in tough environments | Confirm consistent functionality under real-world conditions |
Run tests under varied conditions to ensure your design works seamlessly:
- Test with different types of work gloves.
- Try various lighting setups (direct sunlight, shade, overcast).
- Check usability in both portrait and landscape orientations.
- Evaluate how the device performs when handheld, mounted on vehicles, or clipped to a tool belt.
These steps will help ensure your design is practical and reliable for construction site use.
sbb-itb-51b9a02
Step 4: Build and Test with Users
Once your design has been evaluated in rough conditions, it’s time to move forward by building and testing your MVP with actual users in real-world scenarios.
Choose the Right Tech Tools
Selecting the right tools is essential for ensuring your MVP performs well under practical conditions. Focus on these areas:
| Priority | Requirements | Implementation Focus |
|---|---|---|
| Offline Functionality | Local data storage | Develop sync mechanisms that work seamlessly with spotty connectivity. |
| Mobile Optimization | Progressive Web Apps | Ensure compatibility across devices and screen sizes. |
| API Architecture | RESTful services | Design APIs that integrate easily with existing construction software. |
| Performance | Lightweight frameworks | Optimize for speed and reliability, even in low-bandwidth environments. |
Additionally, ensure compatibility with both iOS and Android devices, optimize battery usage, and provide adequate storage for project files. Robust error handling is also key to maintaining functionality during real-world use.
Test on Real Job Sites
Take your MVP to active job sites and test it in structured phases to gather actionable insights:
| Testing Phase | Key Metrics |
|---|---|
| Initial Beta | Evaluate basic functionality and UI feedback. |
| Extended Trial | Assess performance under different conditions. |
| Full Deployment | Analyze usage patterns and feature adoption. |
Testing across various project phases and multiple job sites helps capture diverse conditions. Track key metrics such as:
- Time spent on each feature
- Offline mode usage frequency
- Error rates during sync operations
- Battery usage patterns
- Data storage demands
To collect feedback, use short, focused surveys that don’t disrupt workflows. Make iterative improvements based on contractor input, prioritizing features that clearly add value to daily tasks. Keep testing cycles quick and responsive, addressing critical issues as soon as they arise.
Step 5: Track Usage and Results
Once your MVP is live, it’s essential to monitor how users interact with it and evaluate its performance. This will help you fine-tune your solution effectively.
Simplify Learning for Contractors
Contractors are busy, so onboarding should be quick and practical. Create concise training materials that fit into their schedules:
| Training Format | Purpose | Duration |
|---|---|---|
| Quick-start Videos | Overview of key features | 2–3 minutes each |
| PDF Quick Guides | Offline reference for specific tools | 1 page per feature |
| In-app Tooltips | On-the-spot, task-specific guidance | 5–10 seconds |
| Weekly Tips | Updates on new or improved features | Under 30 seconds |
Focus on tasks contractors handle regularly. For instance, these materials could cover:
- Filling out daily progress reports
- Scheduling and tracking material deliveries
- Logging equipment usage
- Managing subcontractor schedules
Add contextual help that appears exactly when it’s needed, such as during a first-time feature use or while completing a common task. This ensures contractors get the support they need without disrupting their workflow. Once these tools are in place, evaluate their effectiveness using clear metrics.
Analyze Performance Metrics
To measure how well the MVP is working, track key performance indicators (KPIs) that directly impact contractor efficiency and project outcomes [5]. Examples include:
| KPI Category | Metrics to Track |
|---|---|
| Safety | Speed and accuracy of incident reporting |
| Productivity | Labor output rates |
| Material Usage | Reduction in material waste |
| Change Orders | Time taken to process change orders |
| Satisfaction | Customer satisfaction ratings |
Automate data collection to ensure consistency, and set benchmarks to compare results across various projects, team sizes, and conditions (e.g., seasons or locations).
Use straightforward weekly or monthly dashboards to highlight progress and pinpoint areas for improvement. These visual reports make it easier for contractors to see the MVP’s impact and identify ways to enhance its performance further.
Conclusion: Keys to Construction Tech Success
Overcoming challenges on construction sites starts with creating an MVP grounded in real contractor experiences. To make a construction tech MVP successful, it’s crucial to focus on contractor needs and ensure the solution is easy to use. Adoption hinges on developing tools that fit into existing workflows and deliver noticeable improvements in efficiency and project outcomes. Here are three core principles:
Engage with Contractors Regularly
Begin with in-depth research and keep communication open to make sure the MVP addresses actual problems contractors face.
Refine Through Data
Monitor key performance metrics to demonstrate value. Use these insights to test, adjust, and improve the MVP based on how it’s being used in the field.
Keep It Practical
Create a tool that’s reliable on-site, delivers immediate benefits, and doesn’t require extensive training. Every feature should serve a clear purpose without complicating workflows.
The research, design, and testing steps covered earlier lay the groundwork for putting these principles into action. Ultimately, success in construction tech isn’t just about the software – it’s about building tools that contractors rely on every day. Focus on practicality, continuous feedback, and measurable outcomes to develop an MVP that contractors will use and recommend.
FAQs
What key features should a construction tech MVP include to address contractors’ needs effectively?
To create a construction tech MVP that resonates with contractors, focus on features that solve their most pressing challenges. Start by addressing core pain points, such as streamlining project management, improving communication, or simplifying cost tracking. Prioritize practical, must-have tools that deliver immediate value in real-world scenarios.
It’s critical to conduct thorough market research to understand contractors’ workflows and challenges. Engage with users early on to gather feedback and refine features. By focusing on their needs and keeping the MVP simple yet functional, you’ll lay the foundation for a product that contractors will find both useful and easy to adopt.
What’s the best way to gather and use contractor feedback when building a construction tech MVP?
To gather and use contractor feedback effectively during MVP development, start by engaging directly with contractors through user interviews, surveys, and focus groups. These methods help you understand their pain points and priorities firsthand.
Additionally, leverage in-app surveys, usage analytics, and insights from customer support interactions to identify patterns and refine your product. Social listening, such as monitoring online discussions and reviews, can also uncover valuable feedback. Incorporate this input iteratively to ensure the MVP remains practical and aligned with contractors’ real-world needs.
How can I effectively test a construction tech MVP on real job sites?
Testing a construction tech MVP in real-world job site conditions requires a practical and hands-on approach to ensure it meets contractors’ needs. Start by collaborating with a small group of contractors who are open to testing new tools. Provide clear instructions and support to help them integrate the MVP into their workflow.
Gather feedback directly from users on-site to identify any pain points or usability issues. Focus on observing how the tool performs in actual job site conditions, such as varying weather, equipment usage, and worker interactions. Use this feedback to refine the MVP, prioritizing features that improve efficiency, safety, or communication. Testing in real-world scenarios not only validates the product but also builds trust and interest among future users.


Leave a Reply