
Turning Figma designs into code has never been faster. Modern tools now allow startups to go from design to production-ready code in just five minutes, saving time and boosting efficiency. These tools eliminate the manual translation process, reducing errors and inconsistencies while speeding up MVP development.
Key Insights:
- Why It Matters: Startups need faster workflows to validate ideas and launch products quickly.
- The Problem: Manual design-to-code processes are slow, error-prone, and resource-intensive.
- The Solution: Automated Figma-to-code tools generate clean, responsive HTML, CSS, or React code in minutes.
Quick Overview:
- Preparation is Key: Organize Figma files with clear naming, reusable components, and design tokens.
- How It Works: Use plugins to convert Figma designs into code tailored for frameworks like React or Vue.
- Best Tools:
- Builder.io Visual Copilot for complex layouts.
- Codia AI for mobile-first designs.
- DhiWise Plugin for rapid prototyping.
- Quality Assurance: Always review and refine generated code to meet accessibility and performance standards.
Takeaway: Figma-to-code tools speed up development but require preparation and human oversight to ensure high-quality results.
This AI Tool Converts Figma to Code in ONE Click🤯
What 5 Minutes Actually Means for Figma-to-Code
When we say "convert Figma designs to code in five minutes", it’s all about a streamlined workflow. AI steps in to turn your design into production-ready code almost instantly. For example, Codia’s AI models can analyze complex designs and generate production-ready code in less than 5 seconds [1]. But the full process – from opening your Figma file to having usable code integrated into your project – typically takes about five minutes.
This workflow includes everything: preparing your design, setting up export options, running the conversion, and reviewing the generated code. For startups, this speed can be a game-changer, allowing them to pivot quickly and roll out MVPs without unnecessary delays.
Understanding what happens within those five minutes – and the preparation required beforehand – is key. A SaaS startup demonstrated this efficiency by converting 5 landing page designs into React code in just 30 minutes using Codia Code. This allowed them to launch their product two weeks ahead of schedule [1]. That’s an average of 6 minutes per landing page, perfectly aligning with the five-minute goal.
What You Need Before Starting
Achieving a smooth five-minute conversion relies heavily on preparation. Your Figma files should be well-organized, with consistent naming conventions, properly defined design tokens, export-ready assets, and reusable components.
Reusable components, like buttons, cards, or navigation elements, play a crucial role. Conversion tools can recognize these elements and generate corresponding code components, saving you valuable development time and resulting in cleaner, more maintainable code.
Also, make sure to decide on your target framework before starting. Whether you’re exporting to React, Vue, or plain HTML/CSS, knowing where you’re headed helps you select the right tools and settings for the best results.
What to Expect from the Generated Code
Once your design is prepared, the tool generates code that is both well-structured and responsive. Modern tools create semantic HTML with built-in accessibility features and responsive CSS that adapts to different devices seamlessly.
For React components, the generated output typically includes JSX with functional components. Props are automatically created for dynamic content, and the component hierarchy matches your Figma design. Best practices, like using key props for lists and appropriate event handlers, are generally followed.
The code integrates smoothly with common development workflows and build tools such as Next.js, Create React App, Vue CLI, or even plain HTML setups. The result is clean, standards-compliant code that serves as a reliable starting point.
It’s worth noting that the generated code focuses on UI structure and styling – it doesn’t include business logic. You’ll still need to add API calls, state management, form validation, and other interactive features. Think of the output as a polished foundation, allowing you to focus on building the unique aspects of your product.
Performance is another area where the generated code shines. The CSS is optimized for modern browsers, images are appropriately sized, and the structure supports strong baseline performance metrics right from the start.
With the right preparation, the generated code not only reflects your design but also sets you up for efficient development and a smoother project workflow.
Step-by-Step: Figma to Code in 5 Minutes
Ready to turn your Figma designs into code? Let’s break it down step by step. This process ensures your designs are translated into clean, usable code in no time.
Setting Up Your Figma File for Export
Getting your Figma file organized is the key to a smooth conversion. A well-prepped file not only saves time but also ensures the generated code is clean and easy to work with.
- Enable Auto Layout: Apply Auto Layout to containers and components. This helps the tool understand how elements should behave when resized or when content changes.
- Use Clear and Descriptive Names: Replace default names like "Rectangle 1" or "Group 23" with meaningful ones like "hero-button", "nav-menu", or "product-card." These often translate into CSS class names or component names, making your code easier to maintain.
- Standardize Design Tokens: Set up consistent color styles, text styles, and spacing values in Figma’s design system panel. Conversion tools use these to generate CSS variables or design system tokens instead of hardcoded values.
- Group Related Elements into Components: Turn repeated UI patterns, like buttons or cards, into components. For example, a button with different states (hover, active) will generate a reusable code component instead of multiple separate elements.
- Optimize File Names for Images and Icons: Use web-friendly file names without spaces or special characters to avoid issues during export.
Using a Plugin to Generate Code
Once your Figma file is ready, it’s time to convert it into code using a plugin. Here’s how to get started:
- Install a Conversion Plugin: Choose a plugin from Figma’s marketplace that fits your needs. Popular options let you export to frameworks like React, Vue, or plain HTML/CSS.
- Select Components to Convert: Start small by selecting a single component (e.g., a button or card) rather than an entire page. This makes troubleshooting easier and gives you more control over the output.
- Set Export Preferences: Configure the plugin to match your project’s requirements. Choose your framework (React, Vue, etc.), CSS methodology (Tailwind, CSS Modules, etc.), and naming conventions.
- Map Design Tokens: Specify how color styles, text styles, and other tokens should translate into CSS variables or existing design systems.
- Run the Conversion: Preview the generated code within the plugin to ensure everything looks correct. Once satisfied, copy the code and paste it into your development environment.
The output typically includes everything you need: HTML structure, CSS styling, and framework-specific components.
How to Speed Up the Process
Want to make this process even faster? Here are some tips to streamline your workflow:
- Focus on Individual Components: Instead of converting entire pages, start with smaller sections like a navigation bar, hero section, or product card. These are quicker to integrate and test.
- Leverage Reusable Components: If the same button or card appears in multiple places, the tool will generate one reusable code component, reducing duplication and improving maintainability.
- Convert Similar Elements Together: For dashboards or grids with multiple cards, select and convert them as a group. This helps the tool recognize shared styles and optimize the output.
- Start with a Pre-Built Template: Use a template that includes standard components, color palettes, and text styles. This eliminates setup time and ensures consistent code quality across projects.
- Design with Development in Mind: Stick to common breakpoints (320px, 768px, 1024px, 1440px) and spacing increments (4px, 8px, 16px). This reduces the need for custom CSS values, making the code cleaner and easier to manage.
Top Tools That Work
Picking the right conversion tool depends on what you need it for. Here’s a quick breakdown of where each tool shines:
Builder.io Visual Copilot
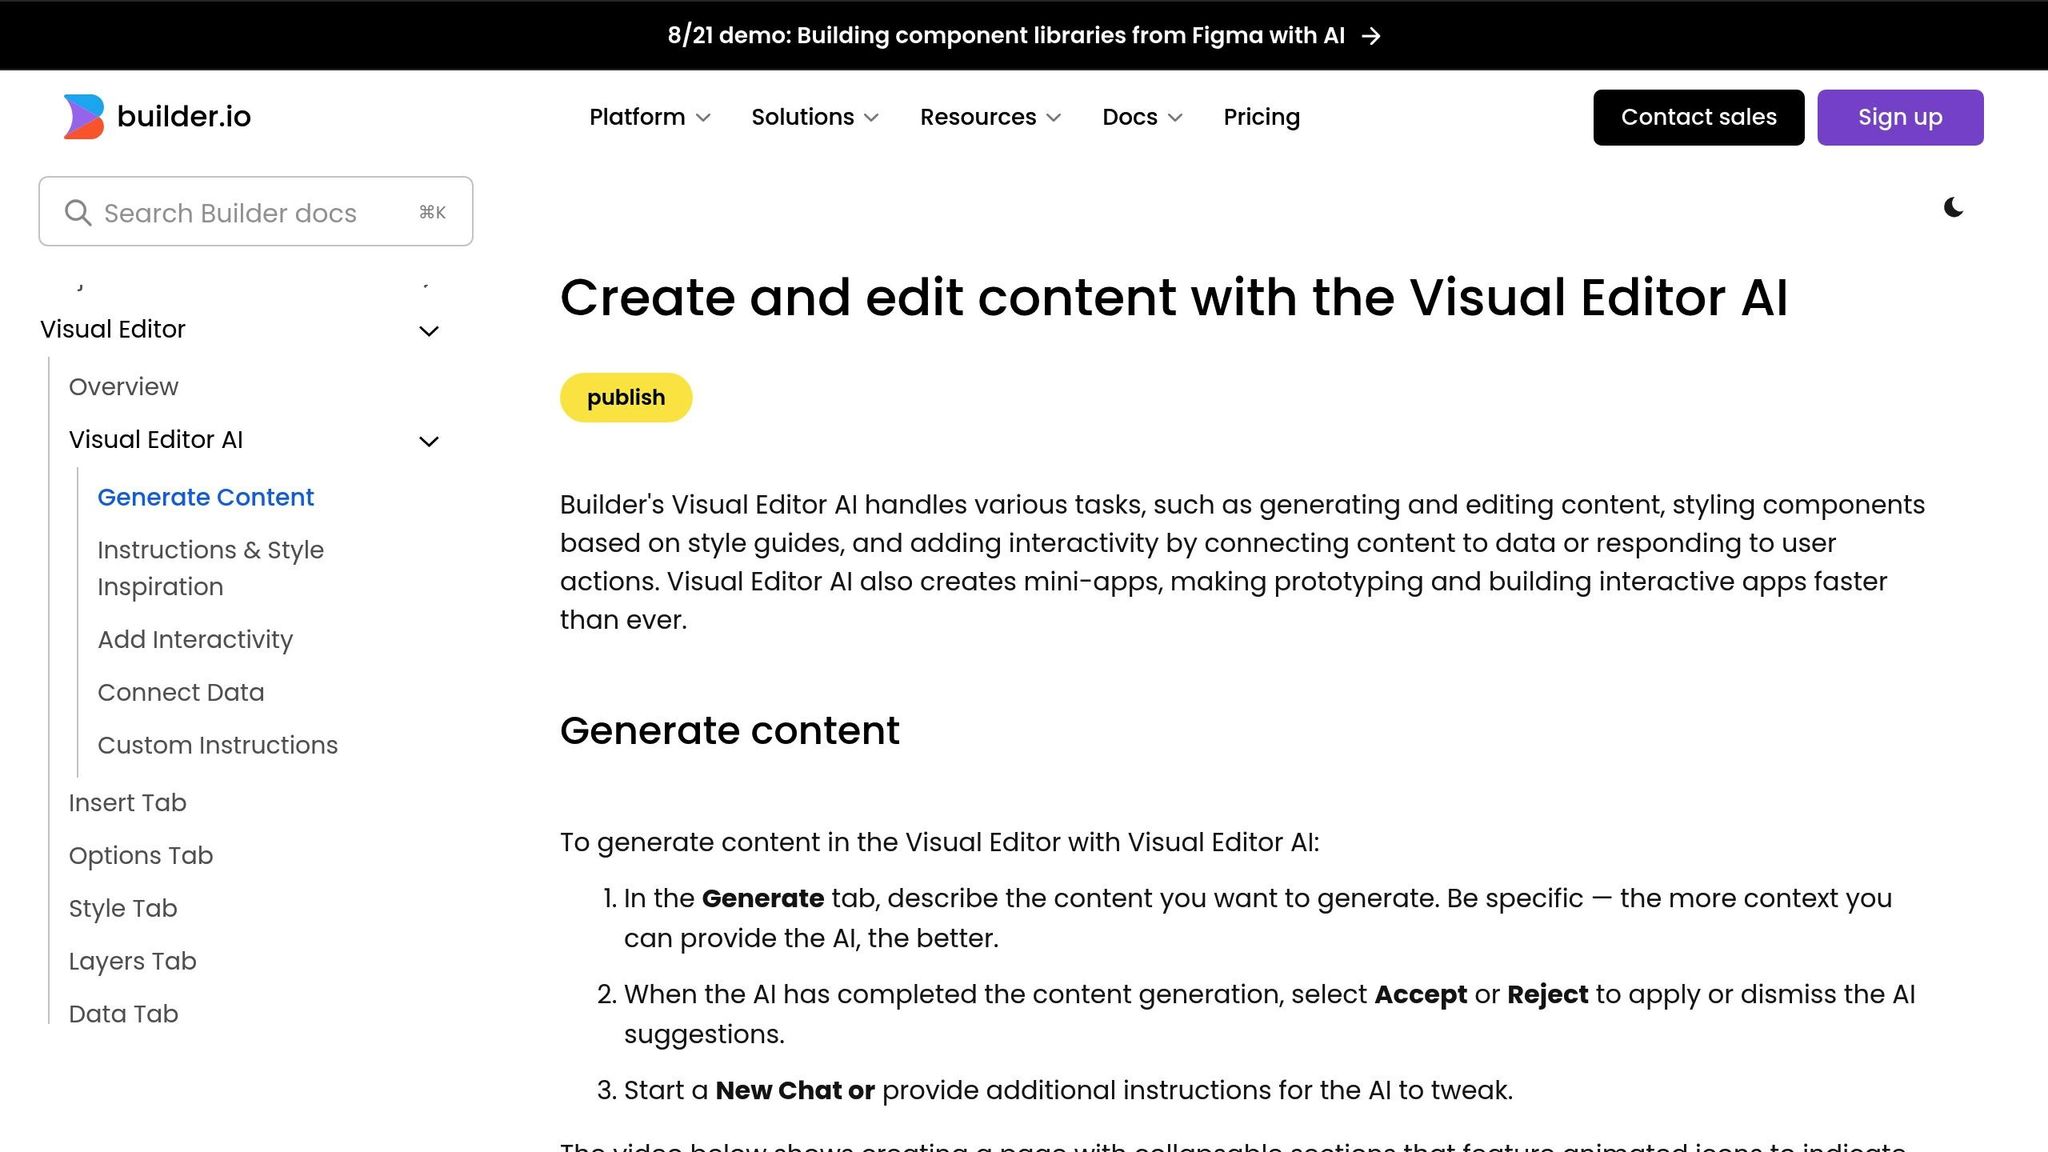
This tool is perfect for handling complex, multi-column layouts, as well as hero sections and card grids. It’s a go-to option for marketing pages and content-heavy websites.
Codia AI

If you’re working on mobile-first designs or cross-platform projects, Codia AI is a great choice. It ensures a seamless interface across web and mobile apps, making it especially useful for dashboards featuring data tables, charts, and forms.
DhiWise Plugin
DhiWise Plugin is ideal for rapid prototyping and MVP development. Whether you’re creating admin dashboards or testing out interactive prototypes, this tool helps you bring concepts to life quickly and efficiently.
Up next, dive into a detailed comparison to find the best tool for your team.
When to Use Which Tool
Picking the right Figma-to-code tool can make development smoother and more efficient. Each tool caters to specific project requirements and the expertise of your team. Here’s how to weigh your options effectively.
Key Considerations for Tool Comparison
When deciding on a Figma-to-code tool, keep these factors in mind:
- Framework Compatibility: Ensure the tool integrates seamlessly with the front-end frameworks your team already uses.
- Responsive Design Support: Determine if the tool handles desktop-first, mobile-first, or adaptive designs based on your project’s needs.
- Component Mapping: Check how well the tool translates design components into functional code.
- Project Alignment: Match the tool to the type of project you’re working on, whether it’s a marketing website, mobile app, or internal dashboard.
- Code Quality: Assess whether the generated code is clean, modular, and ready for production with minimal adjustments.
- Ease of Use: Make sure the tool aligns with your team’s technical expertise and workflow.
- Deployment Options: Look for integrations or hosting features that simplify the transition from design to development.
Choosing the Best Tool for Your Team
The right tool depends on your team’s skills, project timeline, and specific goals:
- Teams with advanced front-end expertise can refine more complex codebases.
- For mobile-first designs, prioritize tools that produce optimized mobile code, even if setup takes more effort.
- Teams with limited coding experience should opt for tools that generate clear, structured code to minimize confusion.
Your timeline also plays a role – some tools allow for faster deployment, while others might require additional adjustments. Don’t forget to factor in the complexity of your design system and your budget, as costs and optimization times can vary widely.
sbb-itb-51b9a02
Best Practices for Production-Ready Code
For startups, making sure auto-generated code meets production standards is critical. This balance keeps development fast while maintaining quality. Refining the code early on helps avoid debugging headaches later.
Checking the Generated Code
Start by verifying that the tool generates semantic HTML. Look for proper heading tags instead of relying on generic <div> elements. Many automated tools prioritize visual output but sacrifice accessibility in the process.
Pay attention to ARIA roles and labels. Adding roles like role="button" and providing meaningful alt text improves accessibility. Following accessibility guidelines early on saves time and prevents costly fixes down the road.
When it comes to CSS, keep it clean and organized. Remove any redundant rules or inline styles. Consolidate repeated values – such as colors, font sizes, or spacing – into CSS custom properties. A tidy stylesheet not only improves load times but also makes future updates easier.
Lastly, test all interactive elements thoroughly. Ensure event handling and state management work seamlessly across various browsers and devices. This attention to detail ensures a smoother user experience.
These practices lay the groundwork for cleaner, production-ready code. The next step? Setting up your design files for better output.
Design Setup for Better Code Output
A well-structured design file – such as one created in Figma – can dramatically improve the quality of the generated code. Consistent design tokens are key. Use the same values for colors, typography, and spacing throughout your design to produce cleaner, more maintainable CSS.
Component naming also matters. Use descriptive names like PrimaryButton instead of vague labels like "Frame 1" or "Rectangle 23." This makes the generated code easier to understand and work with.
Layer organization in your design tool directly impacts the resulting HTML structure. Group related elements logically and use meaningful frame names. Proper grouping can lead to semantic HTML with correct nesting. Avoid creating unnecessarily deep layers unless absolutely necessary, as this can result in overly complex DOM structures.
By organizing your design files thoughtfully, you set the stage for high-quality code that’s easier to optimize later.
Performance Tips After Export
Auto-generated code often requires performance tweaks before it’s ready for production. Start by compressing images with tools like TinyPNG and adding loading="lazy" to images to speed up load times.
Optimize your CSS with tools like PurgeCSS and apply font-display: swap to improve font loading. Many generated stylesheets include unused rules, and default web font setups often lack optimization.
For applications targeting U.S. audiences, ensure localization details are correct. Use the MM/DD/YYYY date format, the dollar sign ($) for currency, and proper comma separators for large numbers. These small adjustments enhance the user experience.
Finally, analyze your bundle size for further optimizations. Auto-generated code often imports entire libraries, even when only specific functions are used. Techniques like tree-shaking and code splitting can significantly reduce JavaScript bundle sizes, improving performance.
How AlterSquare Uses Figma-to-Code in MVP Development
AlterSquare takes advantage of Figma-to-code tools as part of its 90-day MVP program, combining automated code generation with manual reviews to deliver projects quickly without compromising quality.
Their approach involves selective automation. For static components, AlterSquare uses tools like Builder.io Visual Copilot and Codia AI, while interactive components are handled manually by developers. This hybrid method is seamlessly integrated into their proprietary I.D.E.A.L. Framework, ensuring efficiency and precision throughout the development process.
Integration with the I.D.E.A.L. Framework
Figma-to-code tools play a key role in AlterSquare’s Design & Validation and Agile Development phases. During Design & Validation, these tools help create clickable prototypes that map out user flows. In Agile Development, they allow developers to focus on backend logic and API work by automating parts of the front-end build.
Quick prototyping is another standout feature. The team can generate multiple UI variations within hours, which speeds up decision-making and iteration. Early in the process, engineers assess the project’s tech stack – whether it’s Vue.js, React, or another framework – and choose the most compatible Figma-to-code tools to ensure smooth integration from the start.
All of this is supported by a structured process that includes thorough human reviews, as outlined below.
Maintaining Quality with Human Review
Every piece of auto-generated code at AlterSquare is subject to manual review to ensure it meets performance, accessibility, and usability standards. Engineers carry out accessibility audits and cross-browser testing for every component. They also optimize CSS, manage image loading and caching, and handle API integrations manually.
While Figma-to-code tools are great for static layouts, tasks like connecting components to real data, setting up authentication flows, and managing error states are handled by experienced developers to ensure everything functions smoothly.
Localization details are carefully reviewed to align with U.S. audience preferences, ensuring the final product resonates with its target users.
To maintain high standards, AlterSquare incorporates quality gates into every sprint. This means no auto-generated code moves to production without passing rigorous security checks, performance tests, and accessibility benchmarks.
Conclusion: Fast Design-to-Code for Startups
Figma-to-code tools have reshaped how startups tackle MVP development, offering a quick path to turn design files into production-ready code. The key to success lies in picking the right tool for your needs and fine-tuning your workflow for maximum efficiency.
These tools simplify processes, freeing developers to focus on critical tasks like backend logic, API integrations, and improving user experience – without getting bogged down in tedious CSS adjustments.
However, automation alone isn’t enough. Pairing these tools with human oversight is essential. Automated code should always be reviewed to ensure it meets performance standards, complies with accessibility guidelines, and works seamlessly across browsers. Think of these tools as smart assistants that boost developers’ productivity rather than replace their expertise.
For startups working with tight budgets and deadlines, this combination of automation and manual review delivers both speed and reliability. By striking this balance, teams can fast-track MVP development while maintaining high-quality, scalable code.
AlterSquare’s approach is a great example of how this can work. They automate static components while manually fine-tuning interactive elements, allowing teams to focus on solving complex challenges and creating standout user experiences. This method blends the speed of automation with the thoroughness of human review, ensuring top-notch results.
With the right preparation, startups can quickly turn Figma designs into functional code. For those racing to validate ideas and seize market opportunities, this speed can be a game-changer.
FAQs
How can I optimize a Figma file for quick and accurate code conversion?
How to Prepare Your Figma File for Smooth Code Conversion
To make the transition from Figma to code as seamless as possible, start by tidying up your design file. Stick to consistent naming conventions for layers, group related items into components, and use auto-layout to ensure your designs are responsive. These steps help keep everything well-structured and easy to interpret.
Take advantage of Figma’s Dev Mode, which gives developers direct access to the nitty-gritty details – like measurements, downloadable assets, and even code snippets. You can also explore plugins like Anima, which specialize in generating clean, production-ready code. These tools can save time and reduce the need for repetitive work by converting designs into usable code.
By organizing your file properly and tapping into these powerful tools, you can simplify the design-to-code process, speed up development, and maintain high-quality results.
How do Figma-to-code tools handle adding business logic and interactivity to designs?
Figma-to-code tools are built to convert visual designs into clean, production-ready code. They shine when it comes to creating static layouts, but when it’s time to add business logic or interactivity, there’s usually more work to do.
Some of these tools offer basic interactivity features, letting designers play around with animations or simple interactions directly in the design phase. That said, the majority still export static code, which means developers need to step in and handle the heavy lifting – like integrating business logic or advanced interactive elements. This often involves combining the exported code with frameworks like React, Vue, or Angular to build fully functional applications.
For teams looking to speed up development, these tools act as a solid foundation. They save time on the initial front-end setup, allowing developers to focus on what matters most: adding functionality and perfecting the user experience.
What factors should I consider when selecting a Figma-to-code tool for my project?
When you’re picking a Figma-to-code tool, it’s important to prioritize compatibility with your development frameworks, whether you’re working with React, Flutter, or plain HTML. Check how well the tool fits into your existing workflow and whether it can produce clean, production-ready code that stays true to your designs while cutting down on manual adjustments.
You should also evaluate if the tool can handle custom features and manage complex designs without breaking a sweat. Maintaining UI fidelity is another key factor – your designs should look just as polished in code as they do in Figma. The right tool can streamline the design-to-code process, saving your team time and helping you deliver polished results more efficiently.


Leave a Reply